Dahl, the winter hug

Winter means comfort food and an increased need to support your immune system. So in our house I like to make sure our freezer is stocked with nourishing soups and stews instead of processed convenience foods.This Dahl is absolutely loaded with flavour and super satisfying. NB: Flavour intensity for your spices will vary according to their age, brand, country of origin and quality etc., so you will need to experiment with quantities, though I do tend to prefer ginger and cumin as the dominant flavours. Ingredients Method Peace, love and health,Mandah xo
Dandelion Radikia with a Twist

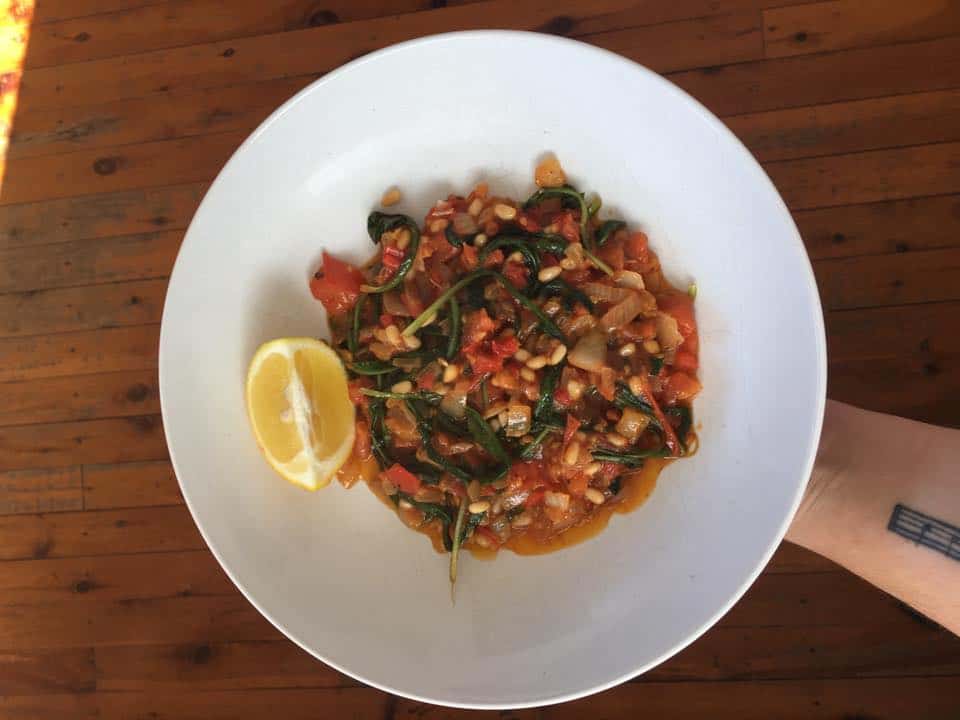
Weed or tasty treat? I’m sure my neighbours think I’m a little nutty for always allowing my grass to grow a little longer so our dandelions sprout flowers for the bees. The dandelions aren’t just great for bees though, they’re great for us!Many cultures, such as Greek, have been eating dandelions for centuries. Dandelions are a rich source of calcium, vitamin A and vitamin K, are a great source of fibre, packed full of wonderful antioxidants, and are excellent at aiding digestion. Who would have thought this humble little weed was such a nutritional powerhouse? There are many ways to prepare and eat your bitters, so here’s how I prepared mine today, a spin on traditional Greek Radikia. Select young leaves (before they have flowered, toward the centre of the plant -Leave the rough leaves and go for the smoother ones and rinse well. The young leaves and more tender and less bitter. In a hot pan, brown off some onion and garlic in olive oil.Add the leaves and diced tomatoes, with salt and pepper and allow to simmer.Once they leaves are cooked until tender, add some pinenuts and stir through. Serve with lemon drizzled on top. Enjoy!
Kombucha

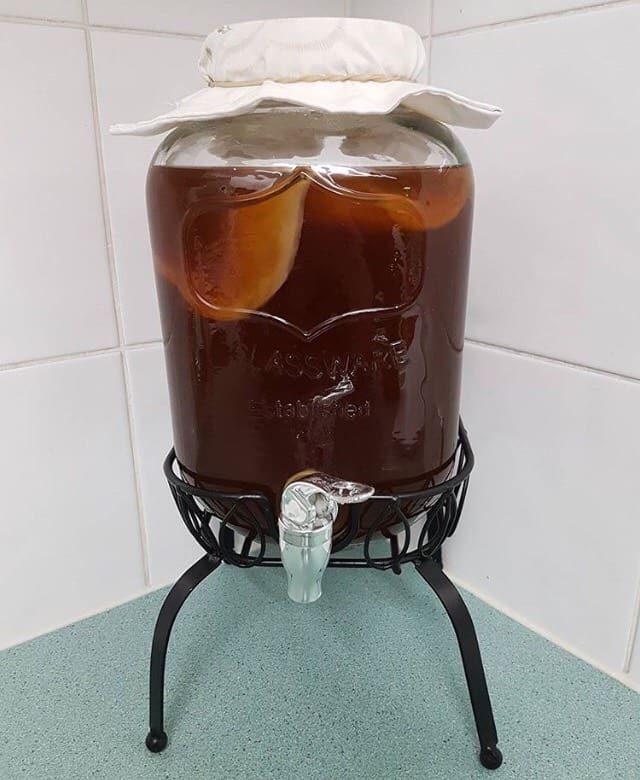
By now you probably know how much I love to include ferments as a daily part of my diet, so here is my recipe and some tips I’ve learned over the years. You Will Need 4L glass jar, preferably with a tap. NB please ensure that your tap is not metal, as the kombucha can cause corrosion and leach toxins from the metals. Similarly, this is why a glass or ceramic container is used for brewing instead of plastic. Saucepan Cheesecloth or cotton top for covering Twine (long enough to secure cloth) Glass bottles for second stage of fermentation. 1 kombucha SCOBY (This should always be stored in a small amount of liquid from the previous batch). 15 teabags (I use a combination or black tea and green. This recipe is not suitable for herbal teas). 350g raw sugar. 1L filtered water. 3-4L filtered water (separate to first lot). METHOD Place the SCOBY in the 4L jar. Pour 1L of filtered water into the saucepan and bring to a boil. Add sugar and stir continuously to allow sugar to dissolve. Remove from heat and add teabags to sugar water mixture. Allow these to steep for approximately 20 minutes. Allow the mixture to cool completely before pouring into the jar with your SCOBY. If the mixture has not cooled properly it may kill your SCOBY and cause mold. Even luke warm water can damage your SCOBY Fill the jar with the remaining 3L of water (or as much as is needed) until it is an inch or two from the top. Cover with cheesecloth and secure it with twine. Your SCOBY will be happiest in a quiet place without lots of movement and noise. Store away from direct heat and light for best results. The fermentation process takes from 1 to 2 weeks, depending on the ambient temperature. The best way to tell if your kombucha is ready is by tasting it. If it’s quite sweet then it’s not ready because the sugar hasn’t yet been effectively metabolised by your SCOBY. If it is sour it is because your fermentation has been sitting for too long. Don’t be surprised if it takes you a few tries to discover a good balance for your home. Just remember that fermentation happens more quickly in a warmer environment. SECOND FERMENT (this stage is optional. Many people really enjoy the flavour of kombucha after the first ferment) You will need 2-3 large bottles with airtight tops (I like the ones with a hinged top) Fruit of choice (my favourites are passionfruit, turmeric and blueberries, but the options are limitless). METHOD Transfer kombucha (minus the SCOBY) into glass bottles. Ensure you leave enough behind for your SCOBY to live in (approximately 15% of kombucha brew). Add slices/pieces of fruit to kombucha liquid, leaving a couple of inches from the top. Secure lids. Place bottles in a cool, dark place. Check the bottles every few days by opening them. When they are fizzy and you like the flavour, your kombucha is ready. NB if you are not using your SCOBY again immediately, store in a glass container in it’s own liquid and covered. Must be stored at room temperature and NOT in the refrigerator, as this will cause your SCOBY to hibernate and may even kill it. Don’t worry if your SCOBY sinks, they all behave differently, but this doesn’t mean there’s anything wrong with it. Ensure that the glass container you are going to store your SCOBY in is clean, but doesn’t have soap residue, as this may kill the SCOBY. Remember to wash your hands well before handling the SCOBY, as they will reproduce bacteria and this is harmful for the SCOBY and you. Peace, love and wellness, Mandah xo
Bone Broth

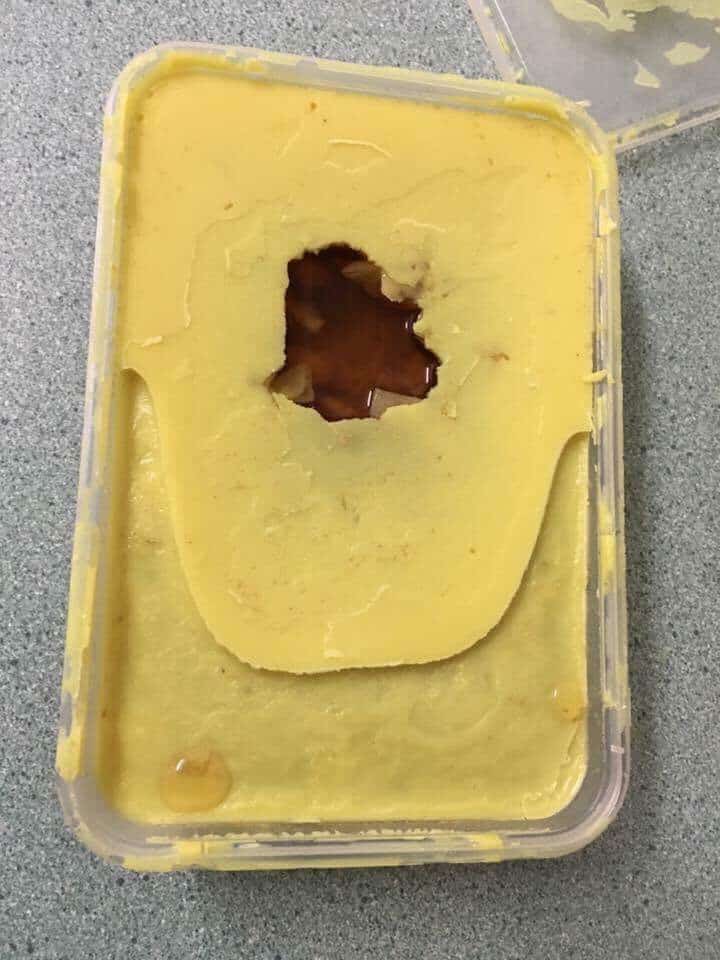
I hadn’t originally intended to publish this photo, so please excuse the presentation. It’s a great example of what a cooled bone broth should look like. Bone broth recipe With beef bones, sprinkle a little salt on them and roast in the oven for half an hour prior to using in bone broth. For chicken broth, just throw them in the pot. I used a chicken carcass, some necks and feet (creeped me out, but they’re full of nourishing gelatin). Place roasted bones in slow cooker on low and cover with filtered water. 2 tablespoons of apple cider vinegar Generous handful of sea salt or Himalayan salt – should taste like the ocean (NOT table salt – throw that in the bin) The rest can be altered according to what your preferences are. 1 heaped tablespoon of crushed garlic. Handful of chopped continental parsley. 1 heaped teaspoon paprika. 1 heaped teaspoon turmeric. You may add vegetables if desired, though I prefer to add the broth to what I’m cooking, not the other way around. Add more water to slow cooker to ensure everything is covered and allow to simmer for 24 hours (you can do for only 12 hours if you have a glutamate issue). You may need to add a little more water during the cooking time, but not too much, as you don’t want this to be diluted. Once cooked, carefully remove bones from the broth (they may crumble). Place broth in jars and allow to cool. You will notice a layer forms on top, this is fat and/gelatin (depending on the quality of your bones). DON’T THROW THIS AWAY! It’s excellent for cooking – packed full of flavour and nutrients. This broth can be consumed as a soup or added to other foods as a stock. NB. Please buy the best quality bones you can afford. I recommend organic, and crass fed for cattle is a must. This is especially important as you will be consuming everything that was stored in the animal’s bones. Most of us would prefer to avoid added hormones and antibiotics!
Sauerkraut

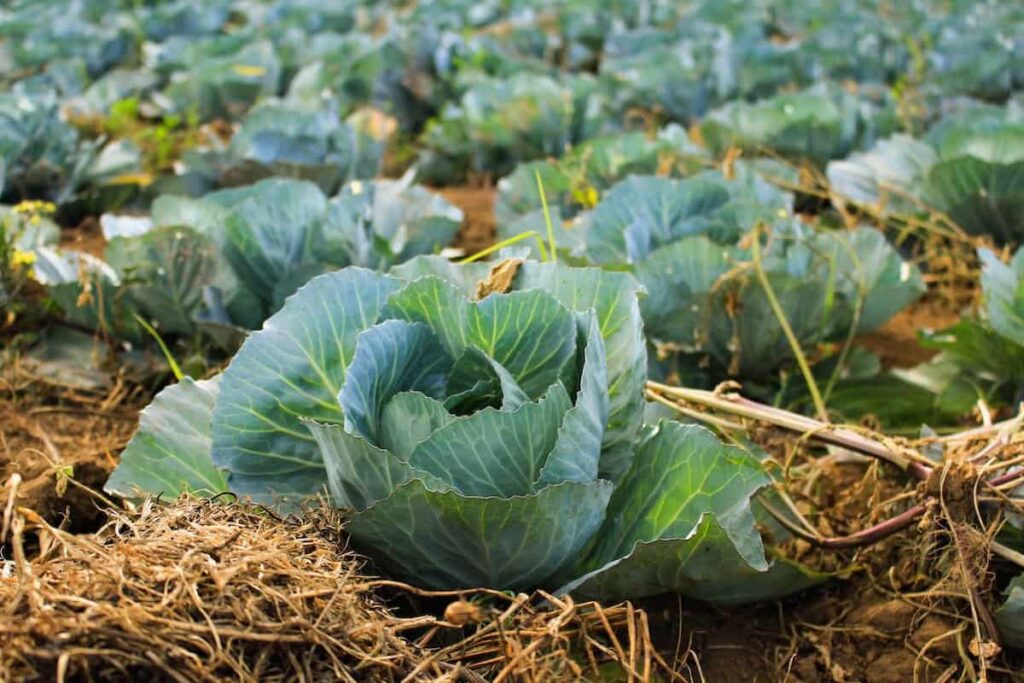
SHOPPING LIST These are my 2 favourite combinations, but the sky’s the limit. 1 large cabbage head (any kind except wombok) 2-2.5 tablespoons of sea salt 2 cloves garlic (finely chopped) 1 heaped tablespoon turmeric powder 2 teaspoons grated ginger 2 small birdseye chillies (finely chopped) OR 1 large cabbage head 1 Granny smith apple (julienned) 2 cloves of garlic (finely chopped) 2 tablespoons fresh dill (finely chopped) METHOD Peel off outer leaves of the cabbage and place to the side for later use. Cut the cabbage into quarters and remove the core. Thinly slice cabbage and place into a large bowl. Add sea salt and start massaging the cabbage by squeezing it like a stress ball. This will take 10-15 minutes, continue until the cabbage becomes soft and the water is drawn out by the salt. At first it may seem like you’re to getting anywhere, but you will! Keep massaging until there is enough liquid to cover the cabbage when you press down. Add any herbs, spices apple etc. at this stage or leave plain. Mix well. Place in a glass jar (or jars) and press down on cabbage to ensure it’s completely submerged in the liquid. Place a piece of cabbage leaf (the ones saved earlier) of the top of the mixture to cover and help keep mixture submerged. Press this top leaf down to immerse. Ensure you leave a couple of centimetres from the top of the jar to the top of the liquid. Seal jar tightly with airtight lid and store out of direct sunlight. Make sure you place an old towel or dish under the jar to catch any liquid. Don’t worry if your jars get lots of leakage, this simply means that your sauerkraut is happily fermenting. Sauerkraut is usually ready after 1-2 weeks, though it can take longer in cooler weather. Taste it to see if you like it, when you do, transfer to fridge. If you’d like stronger flavours, keep fermenting up to 4-6 weeks and increase your happy little probiotics. Peace, love and wellness, Mandah xo
Chocolate Quinoa Bliss Balls

This is the first recipe I ever created as a nutritionist and it’s still one of my favourites. Chocolate quinoa bliss balls are high in protein and good fats and are an excellent snack packed full of goodness and flavour, and are ideal for providing long lasting energy. The best thing is that they freeze well, so I like to make a big batch and freeze some so I always have a tasty treat on hand for unexpected visitors. This is a great recipe for kids to make!!! Ingredients 1 cup LSA (or almonds, cashews or macadamias blitzed in the food processor)1 cup cacao1 cup of quinoa flakes (or blitzed rolled oats)2 cups pitted dates4-8 tablespoons coconut oil2 tablespoons cacao nibs (optional)2 tablespoons chia seeds2 teaspoons cinnamon2 cups desiccated coconut for coating Method Place LSA and dates in food processor until well combined (the smaller the date segments, the better)Melt coconut oil at a low temperature on stove top.Add half of coconut oil to the food processor, along with remaining dry ingredients. Add the remaining coconut oil if necessary – mixture should be sticky enough to hold together but not too oily.Take a large teaspoon of the mixture and roll into a ball – roll until balls hold together and press them together gently. Balls should hold together but be careful not to compact them too tightly or they will become dense.Roll balls in coconut and place into an airtight container.To make this paleo, simply leave out the quinoa or replace it with coconut flakes. Peace, love and wellness, Mandah xo