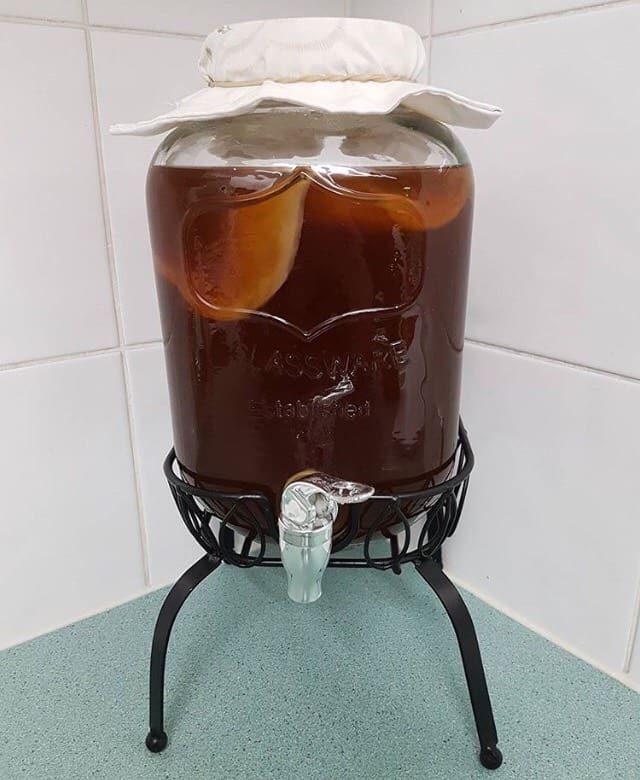
By now you probably know how much I love to include ferments as a daily part of my diet, so here is my recipe and some tips I’ve learned over the years.
You Will Need
4L glass jar, preferably with a tap. NB please ensure that your tap is not metal, as the kombucha can cause corrosion and leach toxins from the metals. Similarly, this is why a glass or ceramic container is used for brewing instead of plastic.
Saucepan
Cheesecloth or cotton top for covering
Twine (long enough to secure cloth)
Glass bottles for second stage of fermentation.
1 kombucha SCOBY (This should always be stored in a small amount of liquid from the previous batch).
15 teabags (I use a combination or black tea and green. This recipe is not suitable for herbal teas).
350g raw sugar.
1L filtered water.
3-4L filtered water (separate to first lot).
METHOD
Place the SCOBY in the 4L jar.
Pour 1L of filtered water into the saucepan and bring to a boil. Add sugar and stir continuously to allow sugar to dissolve.
Remove from heat and add teabags to sugar water mixture. Allow these to steep for approximately 20 minutes.
Allow the mixture to cool completely before pouring into the jar with your SCOBY. If the mixture has not cooled properly it may kill your SCOBY and cause mold. Even luke warm water can damage your SCOBY
Fill the jar with the remaining 3L of water (or as much as is needed) until it is an inch or two from the top. Cover with cheesecloth and secure it with twine.
Your SCOBY will be happiest in a quiet place without lots of movement and noise. Store away from direct heat and light for best results.
The fermentation process takes from 1 to 2 weeks, depending on the ambient temperature. The best way to tell if your kombucha is ready is by tasting it. If it’s quite sweet then it’s not ready because the sugar hasn’t yet been effectively metabolised by your SCOBY. If it is sour it is because your fermentation has been sitting for too long. Don’t be surprised if it takes you a few tries to discover a good balance for your home. Just remember that fermentation happens more quickly in a warmer environment.
SECOND FERMENT (this stage is optional. Many people really enjoy the flavour of kombucha after the first ferment)
You will need
2-3 large bottles with airtight tops (I like the ones with a hinged top)
Fruit of choice (my favourites are passionfruit, turmeric and blueberries, but the options are limitless).
METHOD
Transfer kombucha (minus the SCOBY) into glass bottles. Ensure you leave enough behind for your SCOBY to live in (approximately 15% of kombucha brew).
Add slices/pieces of fruit to kombucha liquid, leaving a couple of inches from the top. Secure lids.
Place bottles in a cool, dark place.
Check the bottles every few days by opening them. When they are fizzy and you like the flavour, your kombucha is ready.
NB if you are not using your SCOBY again immediately, store in a glass container in it’s own liquid and covered. Must be stored at room temperature and NOT in the refrigerator, as this will cause your SCOBY to hibernate and may even kill it.
Don’t worry if your SCOBY sinks, they all behave differently, but this doesn’t mean there’s anything wrong with it.
Ensure that the glass container you are going to store your SCOBY in is clean, but doesn’t have soap residue, as this may kill the SCOBY. Remember to wash your hands well before handling the SCOBY, as they will reproduce bacteria and this is harmful for the SCOBY and you.
Peace, love and wellness,
Mandah xo
